Seamstress Tag

dsc_0009

Hello all! I am doing something a bit different this week! I have been following some fellow sewing addicts on YouTube and I came across the seamstress tag started by Hollie Sews. I thought it was a great idea since I haven’t seen any tags for sewing yet on YouTube, and it’s cool to share with others in the sewing community and get to know each other. This tag is open to anyone, not just vloggers , you can do a blog post or even an Instagram post, so here I am!


Seamstress Tag

 1.Who are you?

My name is Tahirah but also go by Tai . I’m 26  years old,  I moved to New York city about a year and a half ago to study fashion design. My boyfriend and I have been working, getting settled and getting used to living in the city.I am anxious to get back to  school and get my degree finished.


  2. When and why did you start sewing?   

I started sewing about 5 years ago when I was living in Connecticut. I had a lot of band t-shirts which were really cool but were made for men and big and shapeless , I wanted to refashion them into cute tops that looked good on me. My boyfriend bought me the book , Generation T : 108 Ways to transform a t-shirt,  this book started it all! I learned to hand sew and I refashioned all my t-shirts and any others I could get my hands on!  Once my boyfriend saw how much I enjoyed it he bought me my sewing machine for christmas, and I haven’t stopped sewing since!

3. what is your favorite/proudest make? 

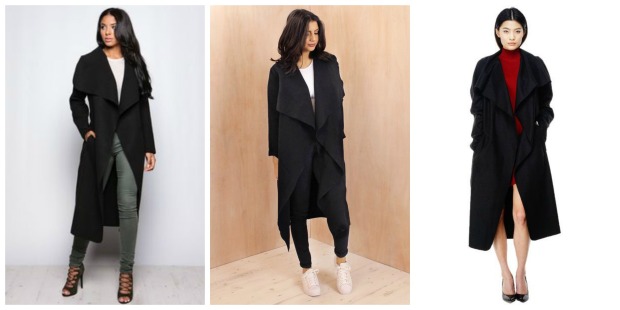
I would have to say it’s a tie between the jacket and coat I made about two years ago, I was so proud when I finished them , I hadn’t made anything so complicated before and it is so worth the work to make something that takes so much time and effort.  Here are a few pictures . I used the Albion coat pattern from Colette patterns, for the toggle coat, and the Pavot pattern from Deer&doe for the jacket.


4. What is your most disastrous make? 

I really can’t pick one , after 5 years of sewing there have been a lot of them but looking back there were some paneled leggings with faux leather that were especially disappointing .

5. Where is Your favorite place to go fabric shopping?

Since I am a total introvert I still like to buy my fabric online, mostly from fabric.com. occasionally from etsy.com and fashion fabrics club. Since I live in nyc I have so many  places to still check out in the garment district, but so far  I have only been to a few shops once or twice. I do have a favorite place for buttons though , M&J trimming is amazing!.

6. What is your most used pattern? 

That would definitely be McCall’s 6744 , I have made 4 versions and I still want to try the racer back and tank views!

 7. What is your most dreaded sewing task?

Hemming! for sure, especially if it is a skirt that is a full or half circle…. it takes so long.

8. What is your favorite sewing task? 

I love sewing french seams or flat felled seams and also top stitching is really satisfying!

9. What is your favorite sewing entertainment ?

I always put on Pandora  and listen to music when I am sewing,I  usually choose my pearl jam station that gives me a lot of grunge music but also indie ,and  folk .

10. Printed or PDF? 

Both ! I own more printed patterns but I love being able to buy a PDF ,print it out ,put it together and start sewing in one day. no waiting for shipping! At this point I have my own little system to putting together pdfs that makes it go faster , I don’t find it frustrating at all.

11. What sewing machine do you use? 

I still use the machine my love bought me 5 years ago. Its a Brother CE5500 project runway edition. It is an awesome machine with 50 different stitches, a variety of decorative stitches, buttonholes, it does everything I need and more. I also have a Brother 1034D over locker.

12. Do you have other hobbies?

I enjoy cooking, crochet and knitting, as well as making my own body products like soap,scrubs, lip balm, and body butter. I also love watching movies with my  boyfriend .


As always thanks for reading!! feel free to do this tag on your blog ,YouTube channel or Instagram account!!

xx- Tai 

McCall’s 7094 & Ginger Jeans

dsc_0026

It is officially fall! And with  today’s temperature it actually feels like it. This morning I decided to indulge in a  nice hot cup a tea which I haven’t done in months!

I think the timing was perfect with this outfit. My first two fall projects done and I am very excited about them! In my last post I shared my plans for Autumn & Winter Sewing. If you check it out you will see these two items were on that list.

McCall’s 7094

Pattern Description

loose-fitting blouse with pleated shoulder seams , back gathered into a yoke . There are four versions to mix and match. sleeveless, long-sleeved ,3/4 sleeve with button tab , straight hem,curved hem and open back version.

I was attracted to this pattern because it resembled tops that I love and own in RTW . All of the different versions got my imagination running on how many different tops I could make from this one pattern. For this blouse I made the curved hem bodice of view D with the button tab sleeves on view C.

Sizing 

I’ve come to the conclusion that with McCall’s patterns I am usually a small , if it is a pattern for knit fabric I might have to make an xs. My measurements are  Bust -34 1/2 , waist -28 1/2 , hips – 40 . Another great way to figure out your size is to measure the pattern piece and compare it to a similar piece of clothing you own and like the fit of.

Fabric Used

polyester crepe from Fabric.com

Pattern Alterations or Design Changes

I decided to make an inverted pleat on the back instead of gathers. To do this I took 1 inch out of the center back, and I made my pleat making sure the back piece was the same width as the back yoke. I also finished the hem with bias tape instead of a narrow hem.

Were The Instructions Easy to Follow? 

Yes they were …but I did stop following the instructions once I was done with the front neck-band and pleats. I did some edge-stiching to avoid the recommended hand stitching on the front neckband. I also used the Burrito method to attach the back yoke to the front bodice .  I attached my sleeves in the flat before sewing the side seams, I prefer that to setting in sleeves.

Would you sew it again? Recommend it? 

I really love the outcome but I don’t think I will sew it again because of the tedious front neck-band and pleats. But I may use the open back pattern pieces and combine them with a simpler front bodice from another pattern. That’s something to think about for next spring…

I would recommend this pattern to an intermediate seamstress who is looking for some unique details and a casual blouse. I don’t think this is a pattern I would’ve tackled as a beginner.

dsc_0009dsc_0033dsc_0006dsc_0024

dsc_0014

Ginger jeans

At this point the Ginger jeans are a TNT (tried & True ) pattern for me, which makes it seem much faster and easier to make when the fit is already great. In order to get the best fit  for my body I had to grade my pattern from a size 8 at the waist to a 10 at the hips. I also took out 3/8 inch from the back yoke and waistband. Doing this eliminated the gapping that happens in the back waistband due to my swayback. 

I still baste everything first since not all denim has the same amount of stretch. This black denim was a bit more stiff so I had to let the seams out a bit.

I made this pair mid rise using this tutorial from heather Lou. she explains how to lower the rise of the high-waist version. It wasn’t as complicated as I thought it would be, I’m glad i tried it!   The denim  had been in my stash for about a year, I bought it from fabric.com but I’m not sure If it is still available.


dsc_0023

dsc_0017dsc_0018dsc_0020

I had some fun making a design on the back pockets. I drew it out in chalk and tried different types of lines until I came up with this. then I sewed carefully over my chalk lines. I went with grey top-stiching and I think it goes great with the black denim.


dsc_0022 
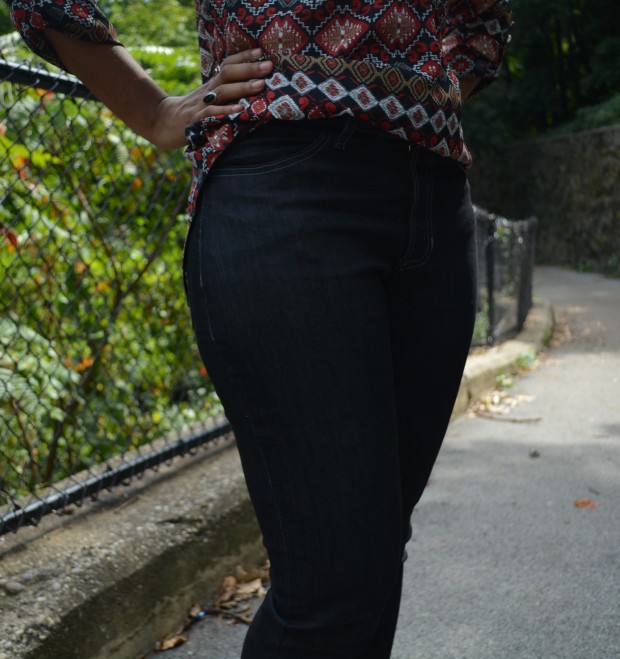
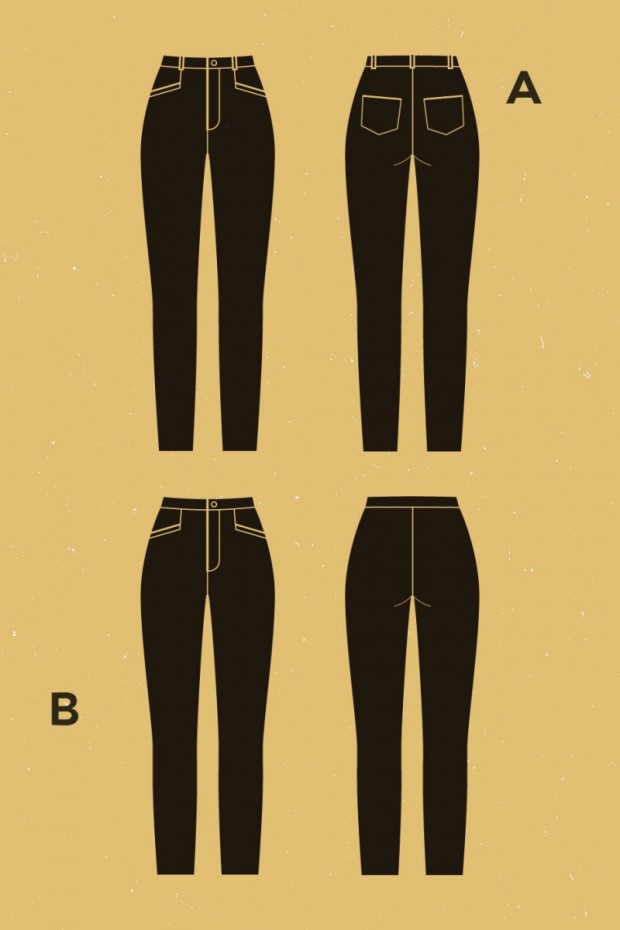
There are definitely more of these babies to come! I can never have enough jeans.


As always Thank you for reading!!

xx-Tai

Autumn & Winter Sewing

PicMonkey Collage

Fall is approaching and I am beyond excited!, I can honestly say summer will not be missed by me. I have already begun planning my fall and winter wardrobe and I thought it would be nice to do a post of the garments I hope to make and share some of my inspiration for these items.

My Color Palette

One of the steps in the wardrobe architect process is to pick out about 20 colors that you love to wear and to separate them into 3 categories. Neutrals, Nearly Neutrals ,and statement colors. The aim is to focus the fabrics you pick out to these colors so that you have a cohesive wardrobe. I tend to go for darker and muted colors during the fall and winter ..

neutrals color story

nearly neutralsstatement colors

My projects

I went through my patterns and picked out the ones that would be great for the cooler weather.

Vogue 8696

98caf86a20304dca603ace88c8854198

I’ve had this pattern in my stash untouched for almost 2 years, I will most likely make this in a classic black like this..

.waterfall coat

McCall’s 7472

M7472_aview F caught my eye so I grabbed it during the mccall’s $2.49 sale.I’m not sure about fabric yet but I have some inspiration for this blouse…

longline blouse

McCall’s 7094

M7094_a
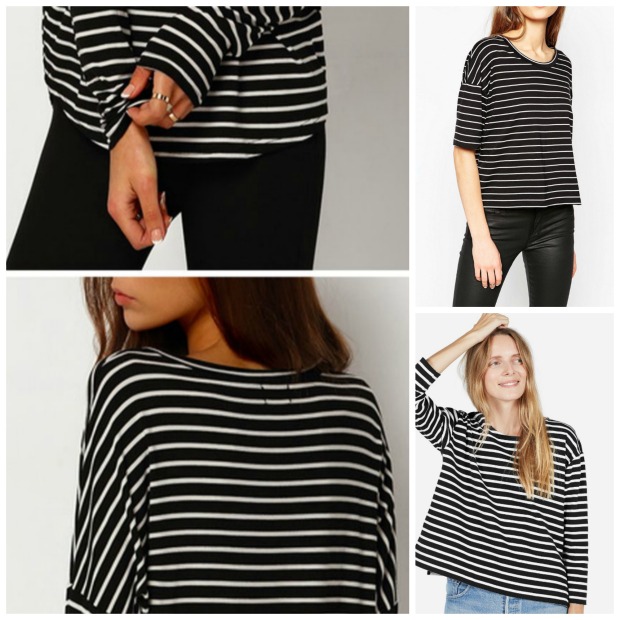
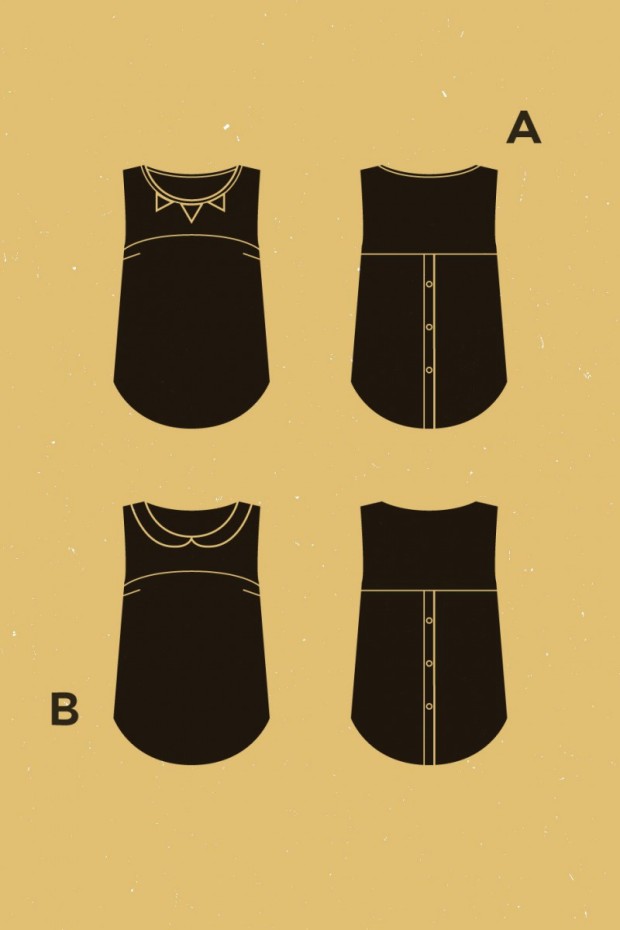
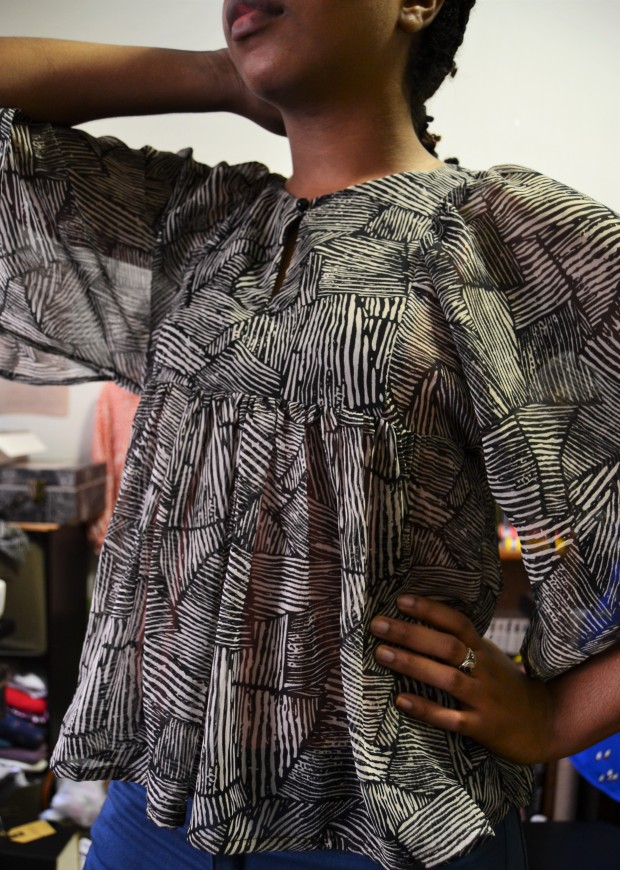
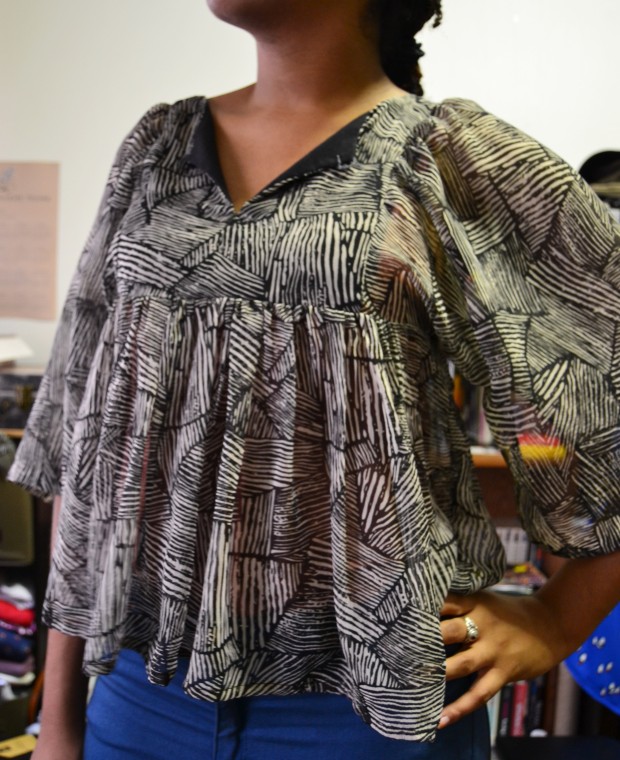
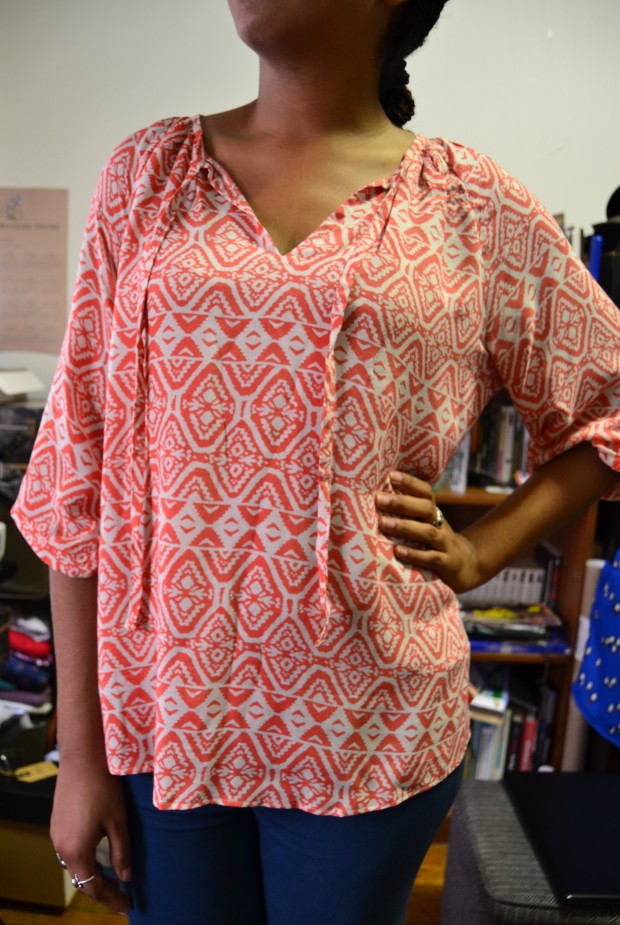
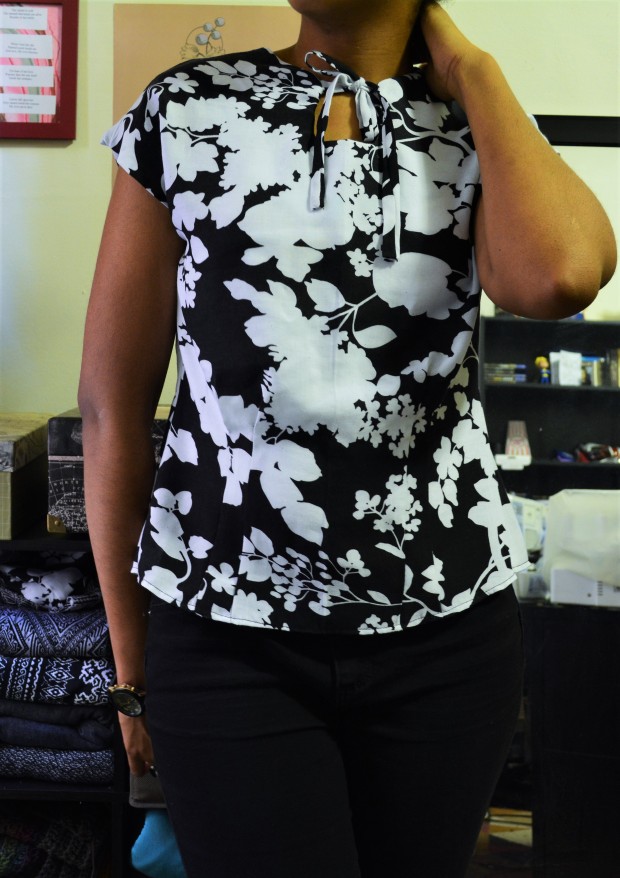
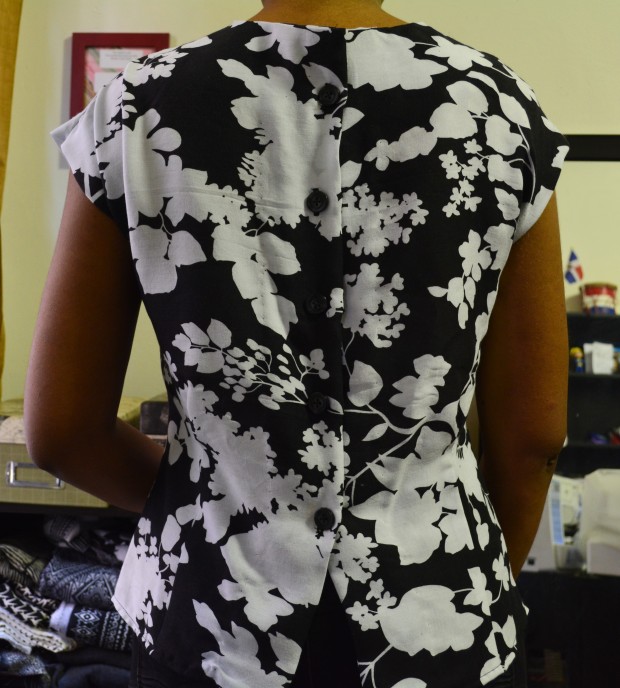
I plan on using one of these 2 fabrics for this blouse  ..


Safran Pants 

safran-pants-pattern3

I have some olive-green stretch twill that I think will work well with this pattern, I ve also been wanting some burgundy jeans for a while so those may come once I find the right fabric.


Chambray Shirtdress

I have been wanting a shirtdress for the longest time. I think a chambtay one would be great for fall. I’ll be using using either McCalls 6696 for this one.

chambray


Maxi cardigan 

I defiantly want a maxi cardigan this year. I have two patterns that I can alter and lengthen to get this style, I will either use McCall’s 6803 or the Oslo cardigan from seamwork mag.

maxicardi

Striped Boxy top

I already have the fabric for this top I just need to figure out which pattern to use. It will either be the Hemlock tee, Mandy boat tee ,or our fave top. ALL 3 are FREE patterns by the way. you can find the hemlock here  and the other 2 on tessuti fabrics  website in case anyone has been wanting to make a similar top.

striped tee


Black Skinny jeans 

I am working on these at the moment!  I am using my much-loved Ginger jeans pattern. I decided to make them mid rise instead of high-waisted using Heather lou’s tutorial on her blog. The denim I have is not super black like most RTW jeans. The ankle zips may happen but i’m not sure yet, right now I am in the process of basting the legs and waistband to check the fit, can’t wait to wear them!

blackskinnies


Thats all I have planned for now!  Though things always change so we’ll see how many of these I can get done this fall, I’m so looking forward to it!

What are your sewing plans for fall? Do you find it harder to sew for the fall and winter? 

As always  thanks for reading!

XX- Tai

Penguin Print Datura


DSC_6612

Hello! I am finally getting caught up on sharing my summer makes! I am more excited than ever for the fall though and im already planning my fall projects.

I made this blouse after having the pattern in my stash for about a year!

Pattern Description

Deer & Doe Datura Blouse

datura-blouse-pattern

The Datura Blouse blouse is a tank top with so many details that made me want to make one!. view A has an amazing cut out neckline design and view B has a peter pan collar. both versions feature a button up back!  I also loved the possibility for color blocking with this pattern. I made view B .


Pattern Sizing

I have sewn a pattern by Deer& Doe so I knew that their size 40 was the best fit for me. Luckily that part was pretty straight forward. No grading between sizes for once!

Fabric Used

When I saw the penguin print crepe de chine I immediately thought of an adorable blouse with a peter pan collar. I bought one yard because I knew i would be using the black crepe for the back yoke and collar. This fabric was lovely to work with and I couldn’t pass it up for the price. I purchased it from Fabric.com and  they still have it in stock!  I also had to use a bit of black linen to line the collar for more stability, I tried it only using the black crepe and it was a disaster .

Pattern Alterations or Design changes made.

The ony change I made was to make the back a faux button placket . I figured it didn’t need to be functional since It wasn’t nessecary to get the blouse on and off for me.I just sewed the plackets down and added the buttons. I also did french side seams instead of serging them.


Did it look like the Photos on the pattern when you were done?  

Yes it did exactly. I was very happy about it!

Were the Instructions Easy to Follow?

They were easy to follow for the most part, although I did have trouble understanding how to construct the back and fronk yokes. They are sewn together in a way that there no raw edges on the inside so I had the look up a tutorial on how to get this right. this post helped me get this step finished.


What do you Like or Dislike about the pattern?

I love the outcome of the fully lined front and back yokes even though it gave me such a headache I am glad I figured it out. I gives it a really cleanly finnished insdie

 Here are a few shots of the insides! 


Would You Sew it again? or reccomend it?

Yes I will be sewing up view A once I find the right fabric. I would only reccomend this pattern to and intermediate sewer or a VERY confident beginner. Be ready to do some headsctraching when looking at the diections for those front and back yokes. This pattern also suggests to make your own bias tape to finish the hem, but it doesn’t explain how to do that once the bias tape is made.


DSC_6619

DSC_6622

DSC_6625

As always thanks for reading!!

xx – Tai

McCall’s 7325 : Pattern Review

DSC_6606

Hello !! I am at it again with another pattern review this week! So far I have been enjoying writing these posts , and now that I have a new tripod I can get some decent pictures of my makes, even when my  boyfriend photographer is busy…

Pattern Description

M7325_a

McCall’s 7325 is a fairly recent pattern that I came across while on Instagram admiring a blouse that one of my sew friends posted. It was an awesome, flowy, boho blouse that I knew I needed in my life! I found the pattern soon after and set a goal of making it before the summer was over. View B is the one that initially caught my eye ,but  I ended up sewing view A because of the amount fabric I had to work with.


Pattern Sizing

I sewed up an X-small based on my previous experience with McCall’s patterns. Because this is a loose fitting top I knew the extra ease would come into play and I didn’t want to be swimming in my top. The only area that felt a bit snug was the front yoke , I feel like it was meant to be a little looser so I will have to fix that next time around.

Fabric Used

I wouldn’t allow myself to purchase anymore fabric for this pattern, and searched my stash for something that I thought would work. I decided on a semi -sheer chiffon fabric that I purchased at Joann’s over two years ago. I thought the print would be perfect for this style. It’s a very light weight and flowy fabric so I used some black cotton to line my front and back yoke pieces to give them some stability. I even used the selvedge edge at the hem of the sleeves! I know it sounds terrible but It actually worked and I didn’t need to hem the sleeves.

Pattern Alterations or Design Changes Made

Since I was determined to make it work using the fabric I had, I ended up having to take out about 1.5 inches of fullness from the sleeves , and shortening them about 1/2 inch. I also decided to add a thread loop and button to the front neck slit.


Did It Look Like The Photos on the Pattern Envelope ?

Yes it did ,minus the pom pom trim that is on the illustration for view A .

Were the Instructions Easy to follow?

Yes! this is an easy pattern, so I had no trouble with it. I am also used to big four instructions which tend to be less detailed than most indie pattern companies. This pattern should be a great project for a  confident beginner.

What Did you Like/Dislike about the Pattern?

I love the front and back yoke design with the slit at the center front, the gathering at the waistline and the loose sleeves that have a slit on this view. I disliked that this blouse can look like a maternity top from a certain angle… but at least I have something I can use when that time comes! That won’t stop me from wearing it though, I’m still pleased with how it turned out.

Would You Sew it Again or Recommend it to others?

Yes! I do plan on making View B of this pattern, and possibly view D at some point.  I would definitely recommend this pattern to my fellow boho loving seamstresses !

DSC_6597

DSC_6602

DSC_6609

peep those selvedge edges??  I’m glad it just looks like a normal hemmed sleeve.

DSC_6610


I hope you enjoyed this post! and let me know if you have sewn this pattern, and what you think about it!

As always thanks for reading!

xx – Tai


Roscoe Blouse Pattern Review

DSC_6592

Heyy!! I’m back with my first actual sewing pattern review!! I’ve posted my makes before but they were never full reviews, so I thought I would start to share my makes in a way that would give you guys more information about each pattern and hopefully help if you decide to sew them as well. so let’s get into it!

Pattern Description

roscoe triple_zpseedapfnd


The Roscoe blouse/ dress is a loose-fitting boho style pattern from . True Bias. When I first saw this pattern I was soooo excited because it fits my style so well. I looove peasant blouses and the idea of making my own was amazing!  The pattern has 3 variations, a blouse, mini dress and midi length dress. I made view A. All views feature a gathered neckline and sleeves, and a slit at the center front neckline with ties.

This patterns difficulty is described as advanced beginner.

Pattern Sizing 

This is a very loose-fitting pattern with a lot of ease which I love, so I made a size 4 based on my chest measurements. Mind you ,my hip measurements put me in a size 8 according to this patterns sizing. If this was supposed to be a fitted garment I would have graded out to an 8 or close to it at the hip, but I didn’t need to do that. I had plenty of room at my hips with the size 4.

Pattern alterations or design changes made 

I added some slight shaping to the waistline by drawing a curve that graded from size 4 to size 0 at the waistline and back out to a 4 along the side seams.

I removed about 1 inch from the volume of the sleeves and shortened the sleeves by 1 inch so they would hit just below my elbows.

I added a slit with button loops to the sleeve bindings so that I could have buttons on the sleeves. One of my favorite RTW blouses inspired this small detail.

I also had to add a center back seam beacuse I had a lack of fabric situtaion…

Did it look like the pattern photos when you were done?

Yes it did for the most part ,the changes I made didn’t change the overall style of the pattern.

Were the instructions easy to follow?

Yes. the instructions were very clear and easy to follow as always from True bias I had no problems with this pattern. There is also a sewalong for any beginners who want to tackle this pattern an need more detailed instructions and photos.

what do you like or dislike about the pattern?

I really love everything about this pattern besides the lack of shaping at the waist which can be easily fixed. My favorite parts are probably the gathered neckline and ties. and the length and slightly cvurved hem.

Would you sew it again? or recommend it ??

Yes, and yes. I plan on making another blouse and the dress version of this pattern. It was so worth it for me since I will get alot of use out of it. definatly a staple for my wardrobe. I would reccomend it to anyone who loves great flowy boho chic blouses and dresses. The only thing that may be a drawback to some is that this is pattern is only available as a PDF download. So hopefully you are up to printng out multiple pages and putting them together. It’s really not that bad once your get a system going for it.

as always thanks for reading!!!

_ Tai 

and now the rest of my pictures …

DSC_6593DSC_6588DSC_6591DSC_6586

DSC_6583


Wardrobe Architect

wardrobe architect

Last year I was introduced to the idea of building an ideal wardrobe. Creating versatile handmade items that were comfortable and that I loved to wear.It sounded like a dream! which is why I read with glee, each one of  the series of blog posts on the Colette blog .

They went in depth on how to begin, starting from defining your style ,your silhouettes,color palette, cleaning out your closet, identifying the holes in your wardrobe, finding the right patterns, to finally sewing your garments.This Month being me made may #MMM  I really wanted to participate, but quickly realized I did not have enough me made items for everyday wear that could carry me through a whole month. I have been sewing for years and I’ve made many items but It wasn’t until last year, through wardrobe architect that I realized I needed to start sewing more practically and with intention. I can’t wear a dress or skirt everyday! They still make up a large percentage of my handmade items, that was fine when I was a beginner because they were easy makes, but it’s time for a change.

I am going to use this month to plan some projects that are going to fill in the gaps I have in my me made Wardrobe.This is something that I have been slowly making progress on but still have a ways to go. A couple projects that really got me going in the right direction were my button down plaid shirt, Sutton blouse, kimono jacket, Hudson Pants, camel toggle coat,as well as my first pair of jeans. Pictured below are the toggle coat that I made using the Albion coat pattern and my high-waisted ginger jeans.

The ginger jeans pattern is amazing and it was so gratifying to complete them. Despite having some fit issues they still get plenty of wear and are more comfortable then my rtw jeans.I need to perfect the fit, making the necessary alterations to my pattern so that I can crank out multiple pairs! I will most likely do a pattern review while I’m at it. I will also be doing a series of posts following the process of my wardrobe architect experiment for the rest of this year.So far I know that I need to focus on making ..

  • pants/jeans
  • blouses
  • cardigans/sweaters
  • tank tops/t-shirts
  • bras/underwear

Sketching Is a huge part of my Planning process so I will try to share some of those as well! I will be filling my mood board with tons of ideas . Hopefully some of you will find the inspiration to start your own journey to a handmade wardrobe.

Classic Zinnia

zinnia

I Have been lusting over the Zinnia Skirt Pattern from Colette for the longest time, I featured it in my ultimate pattern wishlist post, well I just so happened that March was Zinnia Month ! It was on sale for 20% off on their website so I decided it was the perfect time to snatch it up! I opted for the PDF download and ordered my fabric right away.

I knew that I wanted to make version 1 ,  below the knee, button front with patch pockets and gathers. I don’t usually like dealing with gathers but I loved this version so much I had to try it. It was also a no brainier that this skirt would be Black since I really wanted a classic and versatile staple in my wardrobe.  I feel like I should mention the fact that I have been sewing for over 4 years and I have never made an all black garment ! I am always attracted to colors or prints that are unique and interesting. But for this pattern I knew I had to keep it simple and let the details shine.

I made a size 6  based on my waist measurement, and no alterations to the pattern , the only thing I did differently from the instructions was that I flat felled my side seams for a really clean and durable seam.  I’m so glad I followed the tip of sewing three lines of basting to create the gathers, it really helped me have more control and resulted in neater gathers.

DSC_0312

Fabric

Kaufman Brussels washer linen from Fabric.com

DSC_0300

so in love with the pockets!

DSC_0302

The buttons are antique brass from M&J trimming. I love living in New York and having access to awesome shops!

DSC_0308

I cannot recommend this pattern enough, It came together really well, the instructions are always excellent from Colette patterns. I ‘m not sure if I’ve ever loved a garment I’ve made this much. I can already see myself wearing it in the fall with tights and booties… Version 2 of this skirt is going to be In a Burgundy Georgette!!

As a bonus I thought I would mention that I also made the tank top I paired with this skirt. It was made a couple years ago using a basic bodice sloper that I drafted with the help of YouTube! Here are a few shots without the sweater.

DSC_0304DSC_0306

As always thank you for reading!

xx – Tai


Floral Sencha

sencha top

I recently finished the Sencha blouse by Colette Patterns.

I completed a survey for the Colette blog and received a coupon code for 20% off my purchase on their website. I am such a fan of their patterns so I zealously browsed their newly designed website before the code expired. As soon as I saw the sencha I knew I had to have it, I fell in love with the details like the keyhole neckline, tucks and button back, that were possible in the 3 versions.I even had the perfect fabric in mind that I had been hoarding for over a year. YAY for Stash-busting!


I looked through all the patterns available and ended up purchasing 3 digital patterns. the Sencha blouse, Violet blouse, and Clover pants.

The weather has been so crazy lately that I decided to suck it up and take some indoor pictures of my finished blouse. I did my best to get some natural light into my room and I think it worked out well.

DSC_0197

DSC_0225DSC_0222

I chose to cut a size 4 based on my bust measurements,and I’m glad I didn’t go up to a 6, I think it would have come out too loose for my taste.

I got a brush up on my hand sewing as well since the pattern suggests to use a catch stitch for the sleeve hems and back button placket. There is a sense of accomplishment that comes with hand sewing invisible stitches, It makes me feel like a pro !

DSC_0220DSC_0218

The tucks get a bit lost in the print but they’re a great detail ,and I love the shaping they created.DSC_0216

I chose some simple black buttons to let this print shine. Overall I’m really pleased with this blouse, I can’t wait to wear it with my clover pants when I get around to making them and some cute flats. Or maybe tucked into a high-waisted skirt… .I would highly recommend this pattern if you’re a beginner looking to gain some confidence in your skills.

As always thanks for reading! xx

-Tai